on Tue Jun 04 2019
| 5 min. read
Mold can be a serious problem—it’s difficult to detect, expensive to remove, and can cause health issues for your renters. Per landlord-tenant laws, however, the implied warranty of habitability requires landlords to keep their rental properties free of health hazards. That’s why it’s important to spot mold issues and remediate them immediately.
If you do have mold in your rental property, detecting it early is important for the health of your tenants and your finances. Unfortunately, the presence of mold isn’t always obvious, making mold detection challenging in many cases.
Mold spores are microscopic can be found everywhere in a home, but the issue becomes apparent when there’s a sign of significant settling and growth. Mold needs moisture and dampness to grow, and when those conditions are present, your rental can be a host for a breeding ground. Focus on those kinds of areas when looking for mold and pay attention to the following signs to detect mold before it becomes much more serious.
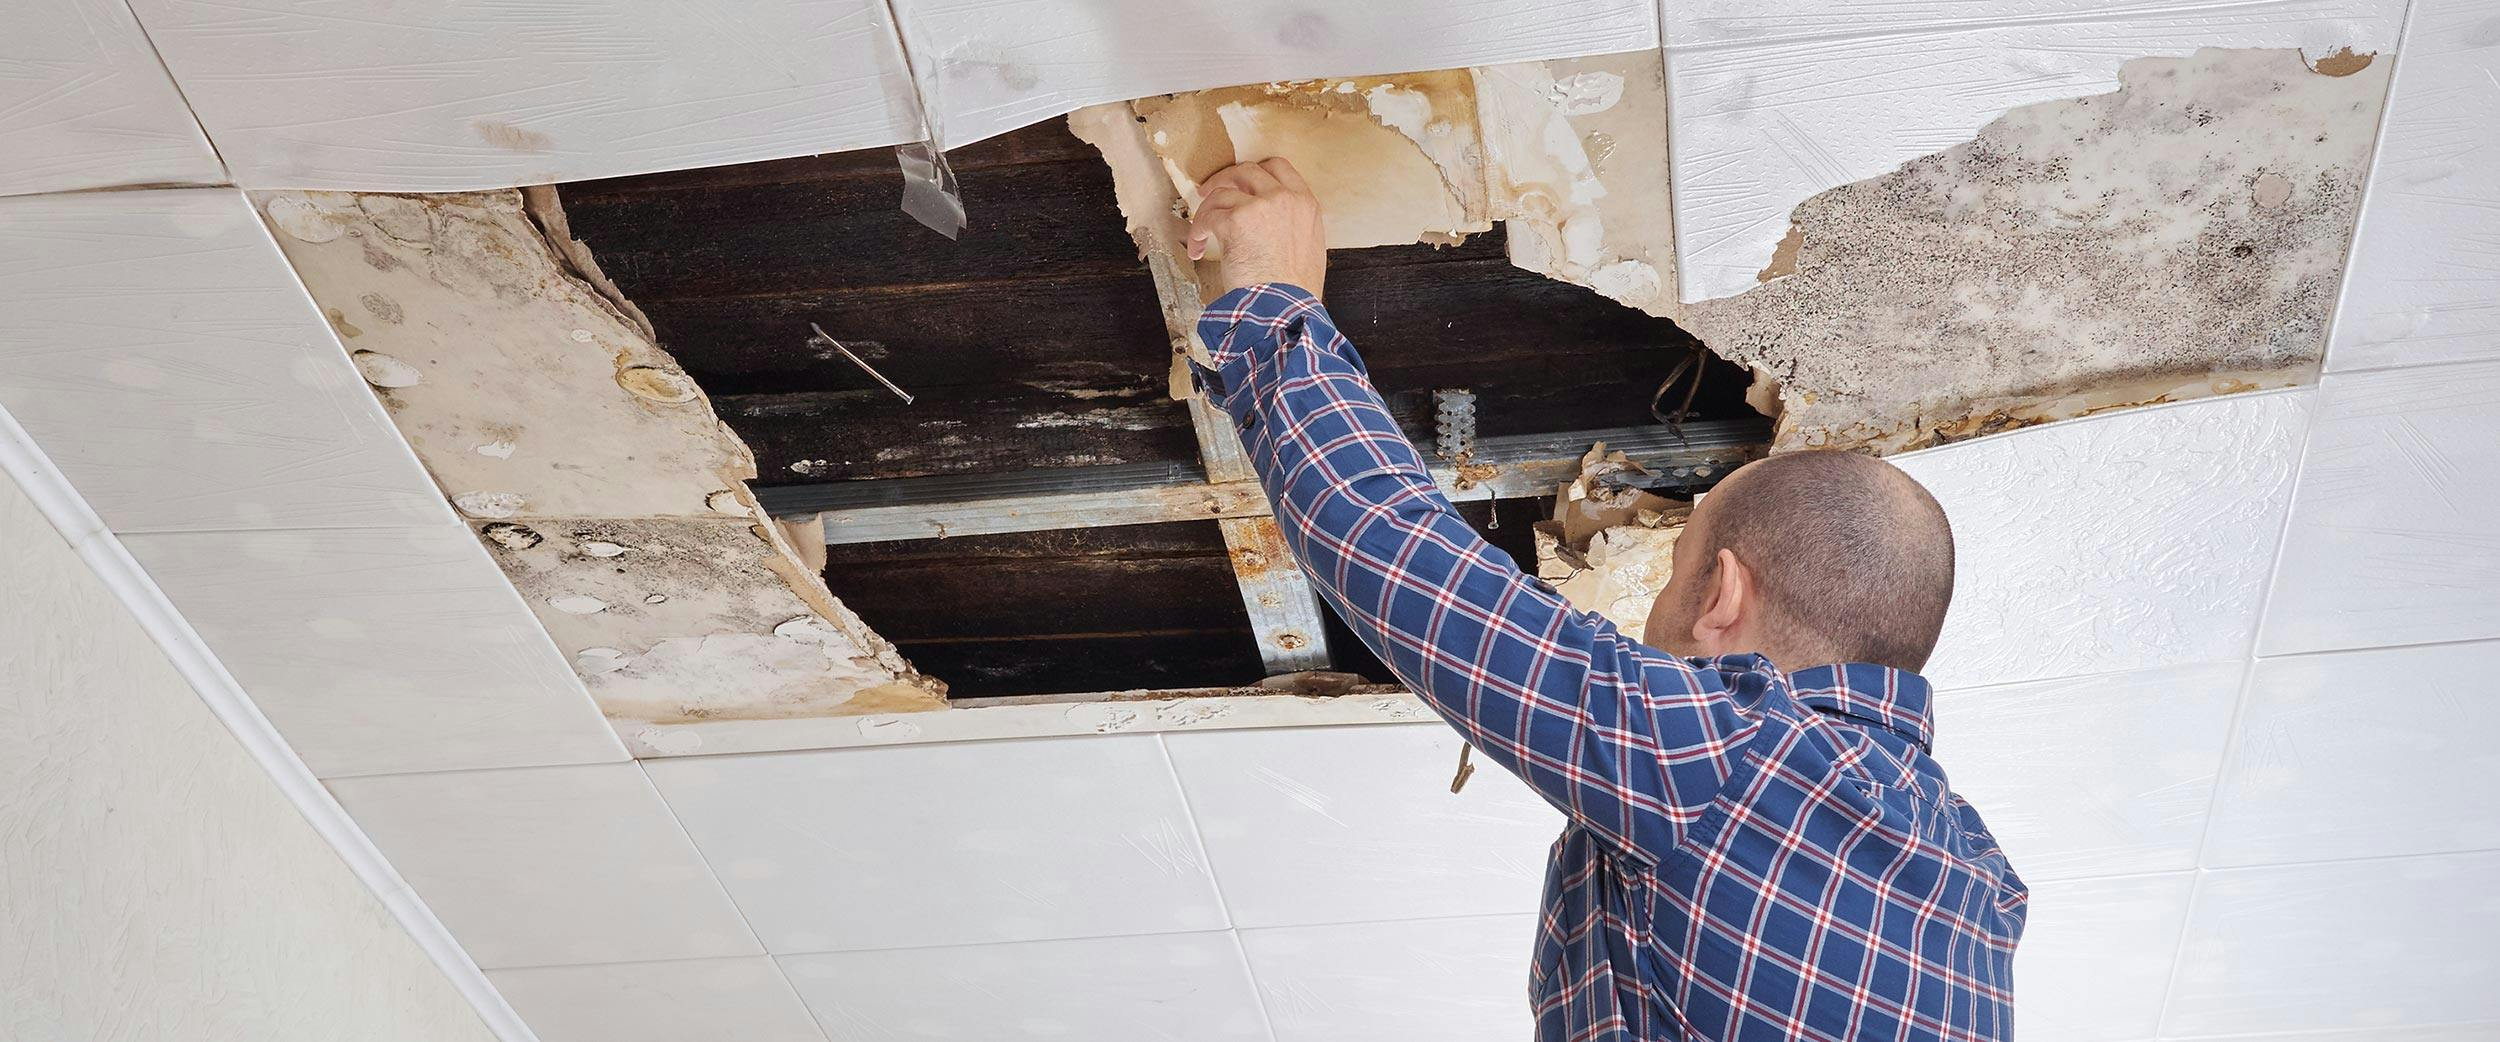
Check out areas that have the most exposure to moisture, like the basement and the attic. Basements are usually the dampest parts of a home and have less exposure to light. Also check the attic, where a leaky roof could be creating a friendly environment for mold. Bathroom ceilings are also common offenders because of moisture from showers even if there’s a fan or window. Regularly inspect the ductwork of your HVAC (heating, ventilation, air conditioning) systems too as ductwork can easily circulate spores. Mold also loves dusty surfaces and condensation (from an A/C coil or faulty dehumidifier).
If the rental has a history of flooding or water damage, there’s an increased risk of mold growth. Spores need moisture to multiply. Do a thorough check for areas that might have water damage, leaks, or general dampness.
Like we said before, microscopic mold spores exist naturally almost everywhere, which makes the concept of true “removal” impossible. They float through the air and can settle on any kind of surface. However, when mold takes root in a humid environment and forms a damage-inducing colony, the process of clean-up is considered remediation (aka getting the spores back to normal/natural levels). Removal and remediation may be used interchangeably, but it’s important to know what they mean, especially as you do your research.
If you can see mold, it needs to go—visible mold growth has no place in a healthy home. The CDC recommends removing all kinds of mold, so it’s usually not worth the time and money to pre-test the spores to see what kind of mold it is or the concentration unless you need specific data for proof or negotiation (e.g. buying a new property or submitting an insurance claim).
Mold cleanup can be fairly easy if you’re adept at DIY projects or work with a capable handyman service (if you use one). You don’t need to hire a professional to remediate mold, especially if it’s a small area. However, it’s important to know when you should clean a surface, or totally rip out and replace it.
For bathroom-born mold, you should be able to clean your bathroom tiles and grout with mold cleaner, and replace the caulking for a low cost with supplies from a hardware store. Porous building materials such as drywall, insulation, baseboards, and carpet are impossible to restore once damaged and inexpensive to replace, so for fixing areas like these, do a light demo and full replacement. Don’t just cover affected areas—remove and replace.
For diagrams, check out this mold remediation guide from Family Handyman. Additionally, the CDC has a great mold remediation resource hub full of valuable in-depth information, including a mold clean-up tips sheet, post-disaster clean-up guide, when to use bleach chart, what-to-wear and supplies shopping lists, condensation prevention guide, and more.
If you find a bigger problem on your hands than some of the aforementioned examples, you might want to bring in professional help. Additionally, if you’re allergic to mold or are dealing with particularly toxic types of mold, this remediation is not something you should do yourself.
Depending on the size of the project, a professional remediation can cost over $1,000. Always get quotes before hiring a contractor—and make sure they’re fully licensed and insured. Mold professionals must have the proper training, licensure, and robust liability and workers comp insurance, which drives costs up.
A professional should be able to explain the project simply and clearly—if the expert is not able to explain the basic processes or tries to complicate it by scaring you, avoid them. Additionally, if they guarantee full removal, this claim should be a red flag—services can only remediate the problem.
Professionals should also follow all of the steps explained previously and handle the situation with the utmost caution and safety. They’ll also do a highly thorough clean up job of the space and the air itself. A perk of using professionals is that they use professional equipment such as HEPA (High Efficiency Particulate Air) air scrubbers, HEPA vacuums, and commercial-strength dehumidifiers. Additionally, experience is key. You want to be working with professionals who have been in business for a while so they are prepared for any situation and know the best way to handle your project.
The key to preventing the spread of mold is by stopping the spread of moisture. Ask your tenants to report any leaks or water damage they see immediately so you can act fast to repair the affected areas. Even include language in the lease that requires them to report water damage. If it makes sense for your property, consider installing a water leak detection system to alert you if there’s any kind of leak. When you move quickly to address any kind of damp environment, you don’t give mold the opportunity to grow.
After you complete a mold remediation process, like in the bathroom or attic for example, make sure there’s proper ventilation in place, like a fan or dehumidifier so the problem won’t reoccur. Repaint affected areas (and everywhere, too) with paint that contains mildewcide to prevent the growth of surface mold. Properly seal wood surfaces with pigmented shellac or an oil-based primer, especially if the wood exterior-facing.
Mold is a problem no property owner wants to have. Preventative maintenance with routinely scheduled inspections are key so you can avoid any potential costly and time consuming messes. That way you’ll be able to catch warning signs of mold quickly so you can remediate any issues ASAP. For more tips on rental property maintenance and repair, check out all of our articles on home and property improvement.